Video workflow
From Brief to Shot: A Practical Seedance 2.0 Workflow
Turn a visual idea into a reviewable first clip by separating subject, action, camera, environment, and constraints.
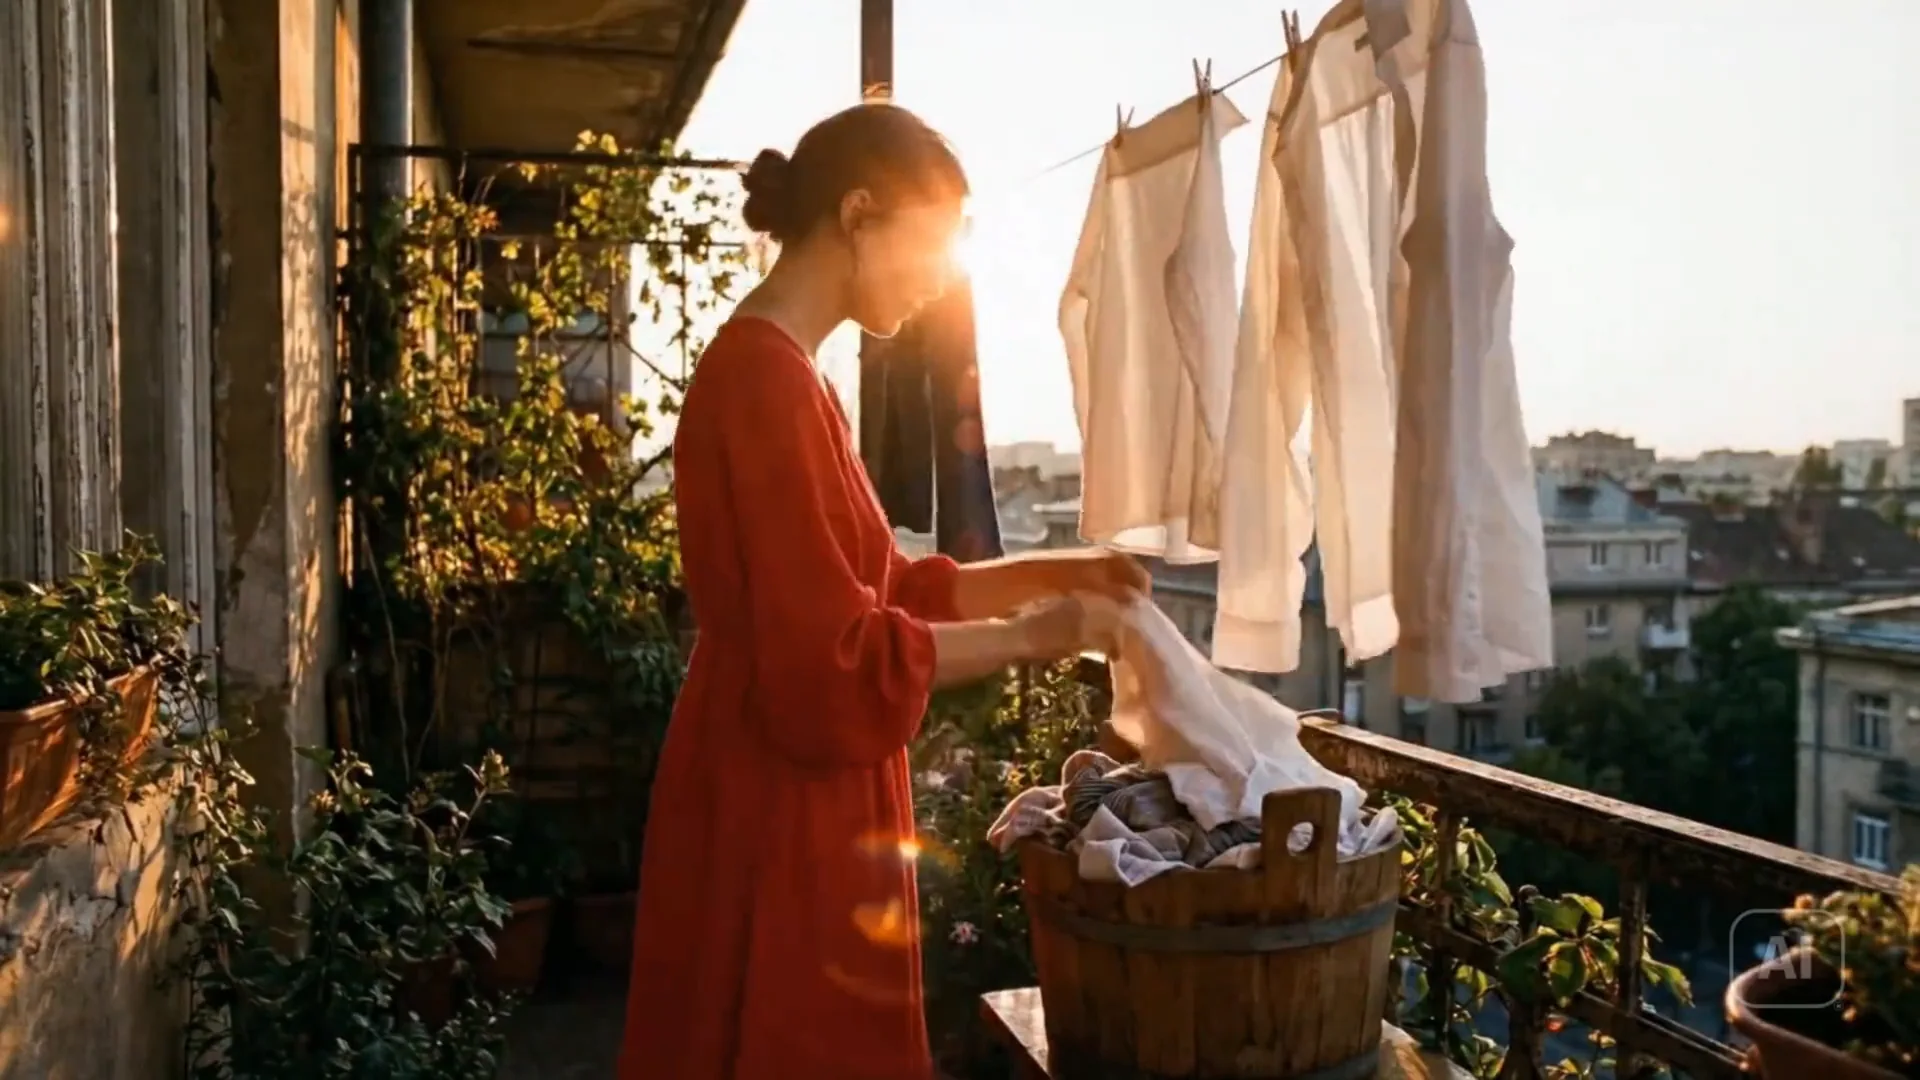
Archived Seedance 2.0 example from a prior internal project. It is shown as a workflow reference, not as a current ZMS AI live-generation test.
Build the brief before the prompt
A video prompt becomes easier to control when the brief is split into decisions. Define the subject, the change that happens during the shot, the camera behavior, the environment, and the visual constraints. This gives every phrase a job and makes revisions easier to diagnose.
Use ZMS AI to keep that brief close to the generation task. You should be able to tell whether a weak result came from the concept, the reference, the motion instruction, or a setting—not rewrite everything at once.
Write the prompt in shot order
Start with what the viewer sees, then describe what moves, how the camera responds, and what remains stable. A useful structure is: subject and setting; primary action; camera movement; lighting and atmosphere; continuity constraints.
For the sunlit balcony scene, the prompt might begin with the person and laundry line, then add a gentle breeze, readable cloth movement, a steady camera, and warm daylight that remains stable without changing the building geometry.
Use a reference for the facts that must not drift
A reference image should carry composition, subject identity, materials, or brand details that are difficult to restate in words. The text prompt should concentrate on time: motion, camera, pacing, and changes in the scene.
In the Seedance 2.0 workspace, attach only the references that serve a clear purpose. Conflicting references create an unclear brief even before the model begins.
Make the first pass diagnostic
The first generation does not need every stylistic detail. Use it to test the core motion, camera direction, and subject stability. If those are wrong, additional adjectives rarely rescue the shot. Shorten the prompt to the decisions that can be observed in the output.
- Check whether the intended action is readable without explanation.
- Check whether the camera movement supports the subject.
- Check for changes in identity, geometry, lighting, or background logic.
- Change one category of instruction at a time.
Review motion, not a single frame
A beautiful thumbnail can hide an unstable clip. Watch the beginning, middle, and end, then inspect transitions between them. Look for acceleration that feels unmotivated, lighting that resets, objects that change shape, and camera moves that stop before the action resolves.
Open the broader video tool library when the brief calls for a different model behavior instead of repeatedly forcing the same setup.
Match the shot plan to the delivery format
Decide where the clip will appear before choosing its frame and duration. A vertical social post, a landscape product page, and a square campaign tile do not give the subject the same visual space. Reframing after generation can remove the action, crop a face, or weaken the intended scale.
Write the composition for the chosen format. In a vertical frame, identify what must remain in the center and how foreground movement should enter. In a wide frame, explain the relationship between the subject and the environment. Treat duration as part of the action: a five-second shot needs a simpler event than a longer establishing clip.
Use constraints to protect the shot, not replace it
A long list of negative instructions can make the brief harder to understand. Start with a positive description of the scene and add only the constraints that protect important facts. “Keep the building geometry stable” is more useful than a broad list of every distortion you do not want.
Group constraints by purpose: identity, geometry, lighting, camera, and exclusions. If the result still drifts, identify the category that failed and strengthen that one instruction. This keeps the prompt readable and makes each revision explainable to another reviewer.
Compare iterations against the same review questions
Two clips are difficult to compare when each one was judged by a different feeling. Use a short review checklist for every pass: is the action readable, is the subject stable, does the camera support the event, and does the final frame resolve cleanly? Record the answer beside the output.
Change one prompt layer or one setting between passes whenever possible. If the reference, camera direction, duration, and style all change together, you cannot tell which decision improved the result. Controlled comparisons turn generation into a repeatable workflow instead of a search for a lucky clip.
Plan how the shot connects to what comes next
A usable clip rarely lives alone. Before approving it, describe the frame that should precede it and the frame that should follow it. Check screen direction, subject position, light, weather, wardrobe, and camera energy. A strong individual shot can still create an awkward edit if those facts change without intention.
When several shots share the same subject or place, keep a small continuity note beside the prompt. Record the stable visual facts separately from the action that belongs only to this clip. That makes it easier to build a new shot without copying motion instructions that should not repeat.
Also leave enough time at the beginning and end for an editor to cut cleanly. If the main action begins immediately or ends outside the frame, the clip may be difficult to place. Ask for a brief settled opening, one readable event, and a resolved final moment when the intended format allows it.
Prepare a clean handoff for editing and review
Name the approved file with the project, shot, version, aspect ratio, and status instead of leaving it as an anonymous download. Save the generation settings and prompt beside it, not only in a browser history. A reviewer should be able to identify the intended use without opening several nearly identical clips.
Write one acceptance note that explains why the shot passed. Mention the action, subject stability, camera behavior, and any imperfection the team deliberately accepted. This prevents a later reviewer from reopening the same decision without context and gives the next generation a clear quality reference.
Before publishing, verify crop safety, playback speed, compression, audio expectations, and the destination’s technical requirements. Generation approval and delivery approval are separate steps: the first confirms the creative result, while the second confirms that the exported clip works in the real page, campaign, or edit.
Save a reusable recipe
When a clip works, preserve the reference, prompt structure, aspect ratio, duration, and the review note that explains why it passed. Reuse the structure, not the exact wording, for the next shot. That turns a lucky result into a production habit.