Image workflow
How to Use Nano Banana 2: A Practical Image Workflow
Plan, generate, edit, and review Nano Banana 2 images with a prompt structure that keeps the creative goal visible.
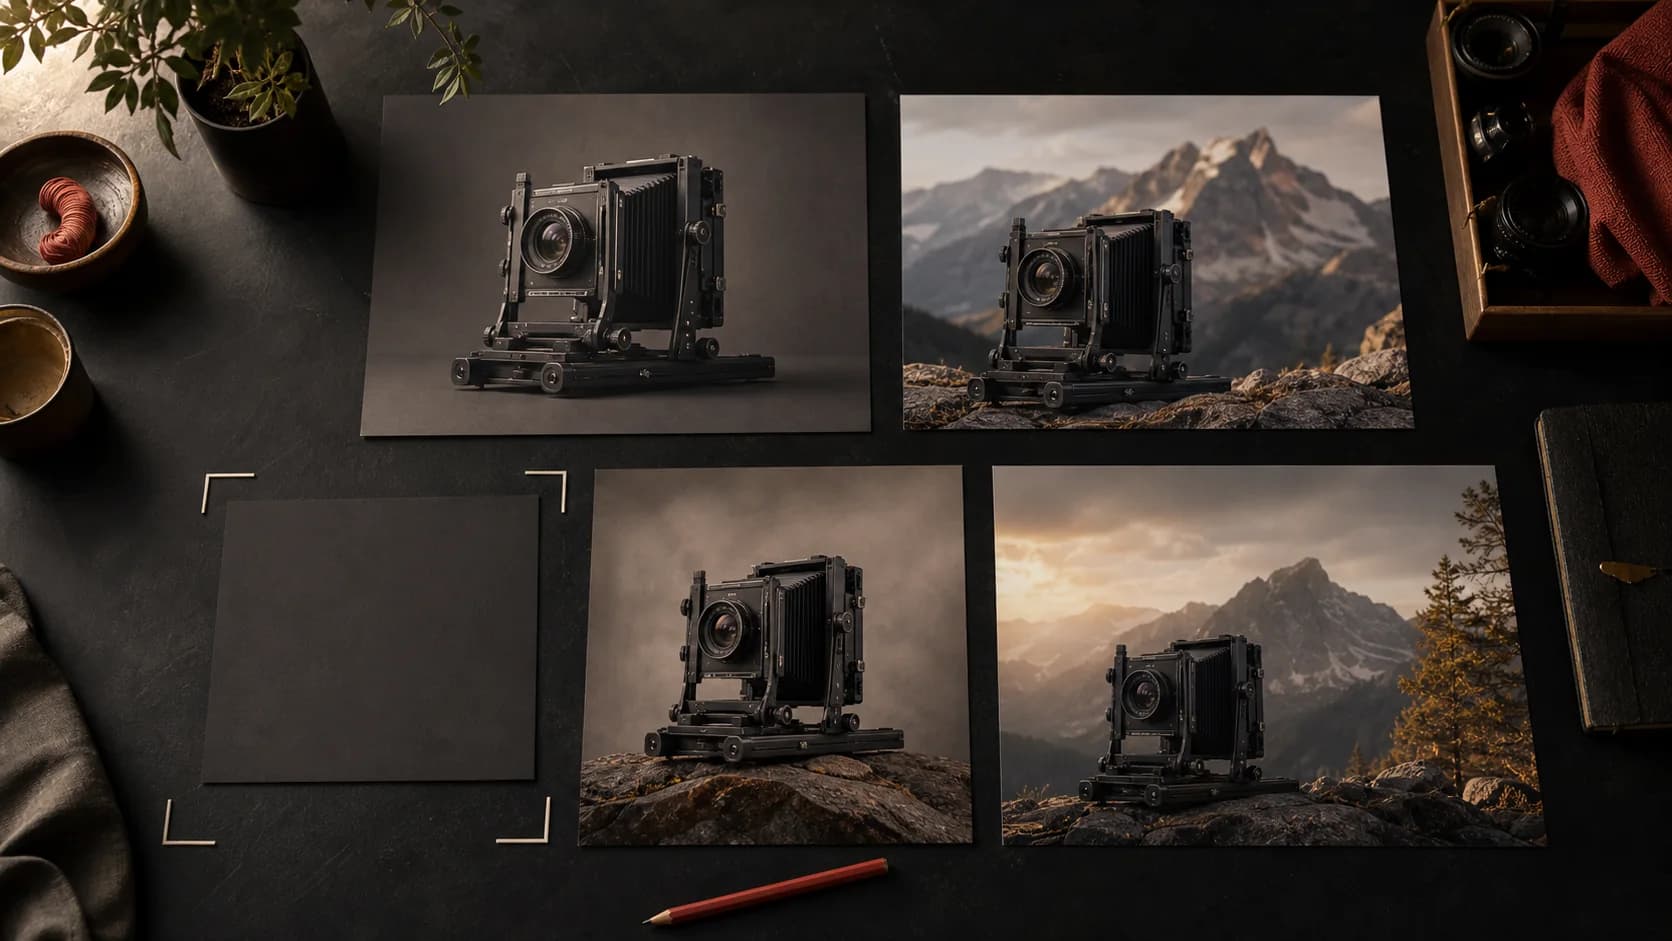
Start with the image’s job
Before writing visual adjectives, define what the image needs to do. A product hero, editorial illustration, social post, concept frame, and reference edit have different success criteria. State the audience, destination, required subject, and the one idea a viewer should understand first.
Use ZMS AI to keep that purpose beside the generation task. A useful brief might read: “Create a landscape product hero for a premium outdoor camera, with the device as the clear focal point, enough negative space for a headline, and realistic materials.” That is easier to review than a list of styles without a communication goal.
- Name the destination and aspect ratio.
- Identify the primary subject and supporting context.
- Describe what must be immediately readable.
- Separate required facts from optional style preferences.
Choose generation or editing before you prompt
Start from text when the composition is open and you want the model to propose the full scene. Start from an image when identity, product geometry, layout, palette, or another visual fact must remain recognizable. The prompt should reflect that choice instead of treating every task as a blank canvas.
Google describes Nano Banana as native image generation that can work with text, images, or both. In the official image-generation guide, generation and editing are presented as related workflows. In ZMS AI, use the controls currently available in the Nano Banana 2 workspace. The current interface lists up to 14 reference images, 0.5K through 4K output sizes, PNG and JPEG formats, and optional Web Search and Image Search controls. Live behavior still depends on the connected service, so verify the returned task before treating any control as production-ready.
Build the prompt in clear layers
Write the prompt in an order that matches how you will review the result: subject, action or state, environment, composition, lighting, material, style, and constraints. Put the most important visual facts early. Later phrases should refine the scene rather than contradict its foundation.
For example: “A matte-black field camera on a wet stone ledge, three-quarter view, foggy mountain valley behind it, soft overcast morning light, realistic metal and rubber materials, restrained outdoor editorial photography, wide composition with clean negative space on the left.” Every phrase has a visible purpose.
Avoid stacking synonyms such as cinematic, epic, dramatic, premium, stunning, and ultra-detailed without explaining what they change. Replace them with observable direction: camera height, lens feeling, light direction, surface finish, depth, palette, and the relationship between the subject and its surroundings.
Give every reference image one role
A reference is useful when you can name the fact it contributes. One image may define the product, another the composition, and another the material or color language. References become confusing when several images offer incompatible answers to the same question.
Tell the model what to preserve and what to borrow. “Keep the device shape, controls, logo placement, and black finish from reference one; use only the lighting mood and stone environment from reference two” is clearer than “combine these images.” If identity matters, repeat the stable characteristics in text instead of relying on the image alone.
When you are exploring rather than matching, use fewer references. A strong reference can narrow the solution space so much that variations feel repetitive. Decide whether the task is faithful adaptation or open direction before attaching more material.
Treat text and layout as designed content
If the image must contain words, provide the exact copy, language, capitalization, and placement. Keep the phrase short and describe the hierarchy: headline, supporting line, label, or interface element. Ask for clear contrast and sufficient empty space around the text instead of expecting a full page layout from an undeclared brief.
Review every character at full size. A visually convincing thumbnail can still contain a wrong letter, inconsistent spacing, or decorative marks that resemble text. For critical brand or legal copy, plan to place the final typography in a design tool after the image composition is approved.
Use the broader image workspace when you need to compare another model or workflow. The important step is not forcing one output to solve generation, art direction, typography, and final production at the same time.
Change one decision at a time
After the first output, name the largest failure before revising. It may be composition, subject accuracy, lighting, material, palette, text, or background logic. Change the instruction for that category while keeping the rest of the prompt stable. This makes the next result a useful comparison.
Use direct edit language: “Keep the camera, composition, product shape, and morning light unchanged. Replace only the distant valley with a calm alpine lake.” A vague request such as “make it better” gives no boundary between the approved parts and the part that needs work.
If an edit repeatedly damages a fact that already passed review, return to the best earlier result and branch from there. Do not let a long sequence of compromises become the new baseline.
Review the image at its real output size
Judge the image in the context where it will be used. A social thumbnail needs a readable focal point at small size. A product hero needs clean cropping across desktop and mobile. An editorial image may need detail that survives a wide content column. Preview those conditions before approving the generation.
Inspect faces, hands, repeated objects, reflections, logos, typography, edges, and background geometry. Then check whether the image still communicates the brief when viewed for only a few seconds. Technical detail cannot rescue a composition whose main idea is unclear.
Keep a record of the prompt, references, aspect ratio, chosen output, and the review note. If the asset will be published, also record where it is used and whether later edits changed the meaning of the original generation.
Save a repeatable recipe, not just a final image
A successful output is more valuable when the team can explain how it was made. Save the stable prompt structure, the role of each reference, the decisions that changed during review, and the final acceptance criteria. That recipe can guide the next image without copying the same scene.
Open the Nano Banana model family when you need to return to the available workspace and related notes. For a campaign that spans several tools, use Creator Studio to preserve the shared brief while keeping each generation step separately reviewable.
The goal is not to produce the longest prompt. It is to make every instruction traceable to the image’s job, every revision traceable to a visible failure, and every approved output reusable in a real production workflow.