GPT Image
How to Use GPT Image 2 on ZMS AI: Complete 2026 Guide
Learn how to create AI images with GPT Image 2 on ZMS AI, from writing effective prompts and choosing output settings to generating and refining results.
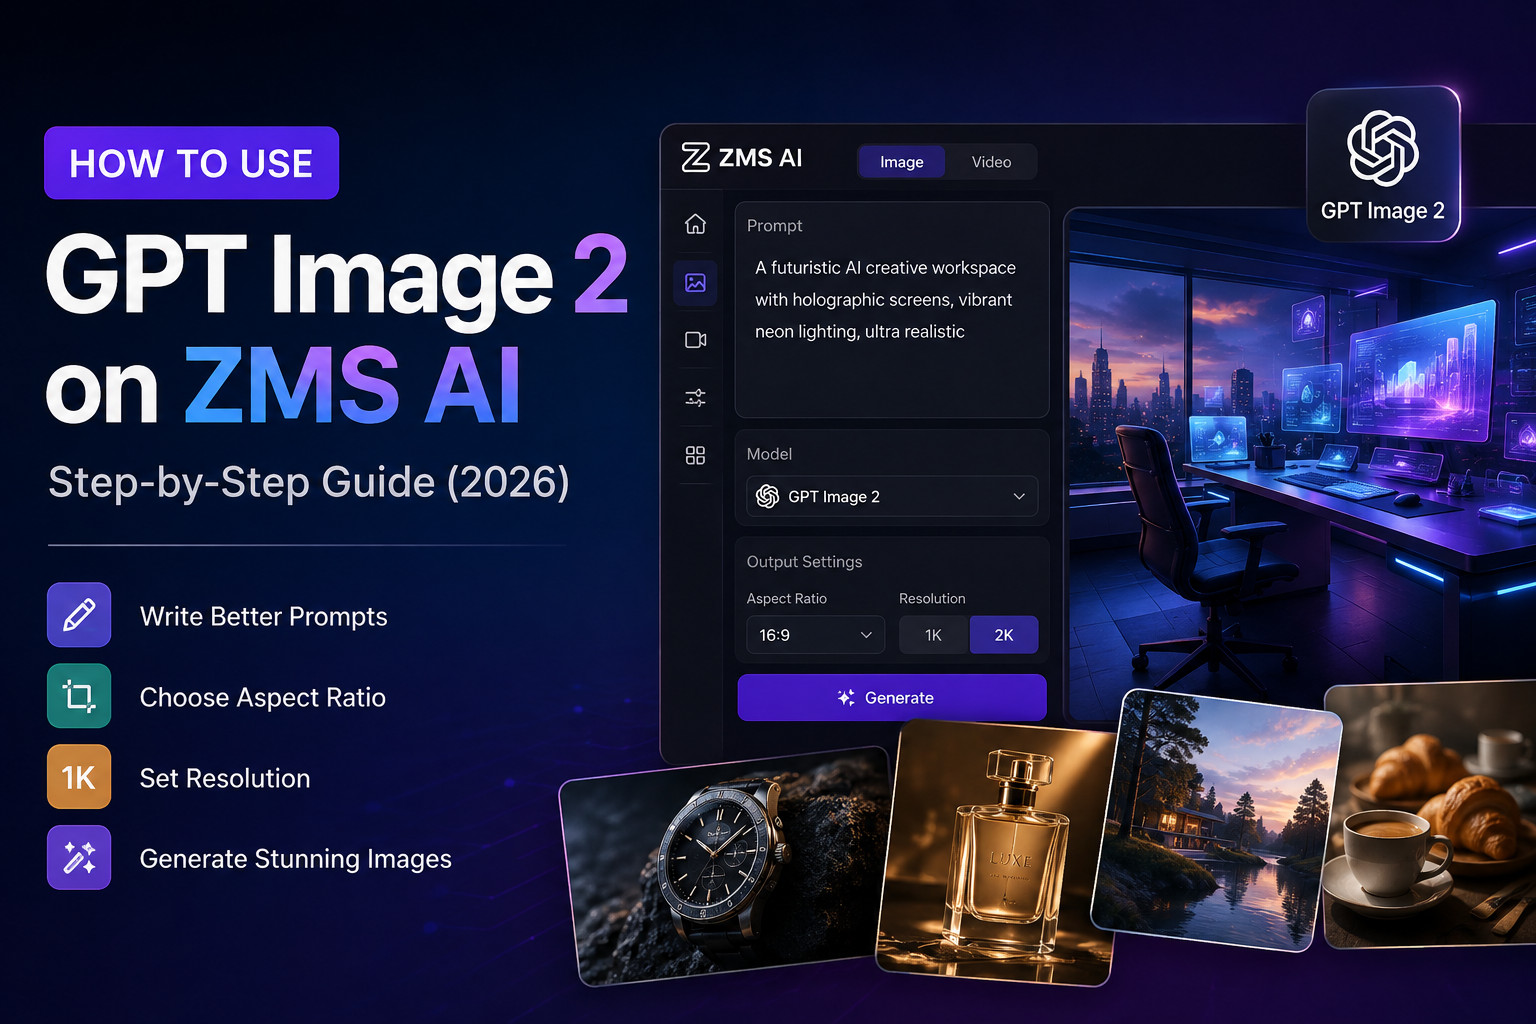
GPT Image 2 lets you create AI-generated images from natural-language prompts, making it useful for product photography, marketing visuals, website graphics, social media content, posters, and creative concepts.
With ZMS AI, you can access GPT Image 2 from a simple creative workspace, enter your prompt, choose an aspect ratio and resolution, and generate your image without configuring complicated technical settings.
In this guide, you’ll learn how to use GPT Image 2 on ZMS AI step by step, how to choose the right settings, and how to write better prompts for more consistent results.
How to Use GPT Image 2: Quick Guide
The basic workflow is simple:
Open ZMS AI.
Select Image mode.
Choose GPT Image 2.
Enter your image prompt.
Choose an aspect ratio.
Select 1K or 2K resolution.
Click Generate.
Review and refine your result.
In short:
Idea → Prompt → GPT Image 2 → Settings → Generate → Refine
For better results, describe not only what you want to see, but also the environment, composition, lighting, style, and important constraints.
What Is GPT Image 2?
GPT Image 2 is OpenAI’s image generation model for creating and editing images using natural-language instructions and visual inputs.
Instead of manually building every part of an image, you can describe the result you want.
For example, instead of:
A perfume advertisement.
Try:
A transparent luxury perfume bottle centered on polished black marble, subtle reflection beneath the bottle, soft golden rim lighting, deep black background, shallow depth of field, premium fragrance advertising photography.
The second prompt provides much clearer visual direction.
GPT Image 2 can be useful for:
Product photography
Marketing creatives
Website and blog images
Social media content
Posters
Editorial graphics
Character and environment concepts
Advertising visuals
Image editing
Why Use GPT Image 2 on ZMS AI?
ZMS AI brings image and video creation into the same creative workspace.
When using GPT Image 2, you can select the model, write your prompt, configure the output format, and generate without moving between multiple tools.
The current workflow provides:
GPT Image 2 model selection
Natural-language prompting
Reference input for supported workflows
Multiple aspect ratios
1K and 2K resolution options
Direct image generation
This keeps the process straightforward for both beginners and experienced AI creators.
How to Use GPT Image 2 on ZMS AI Step by Step
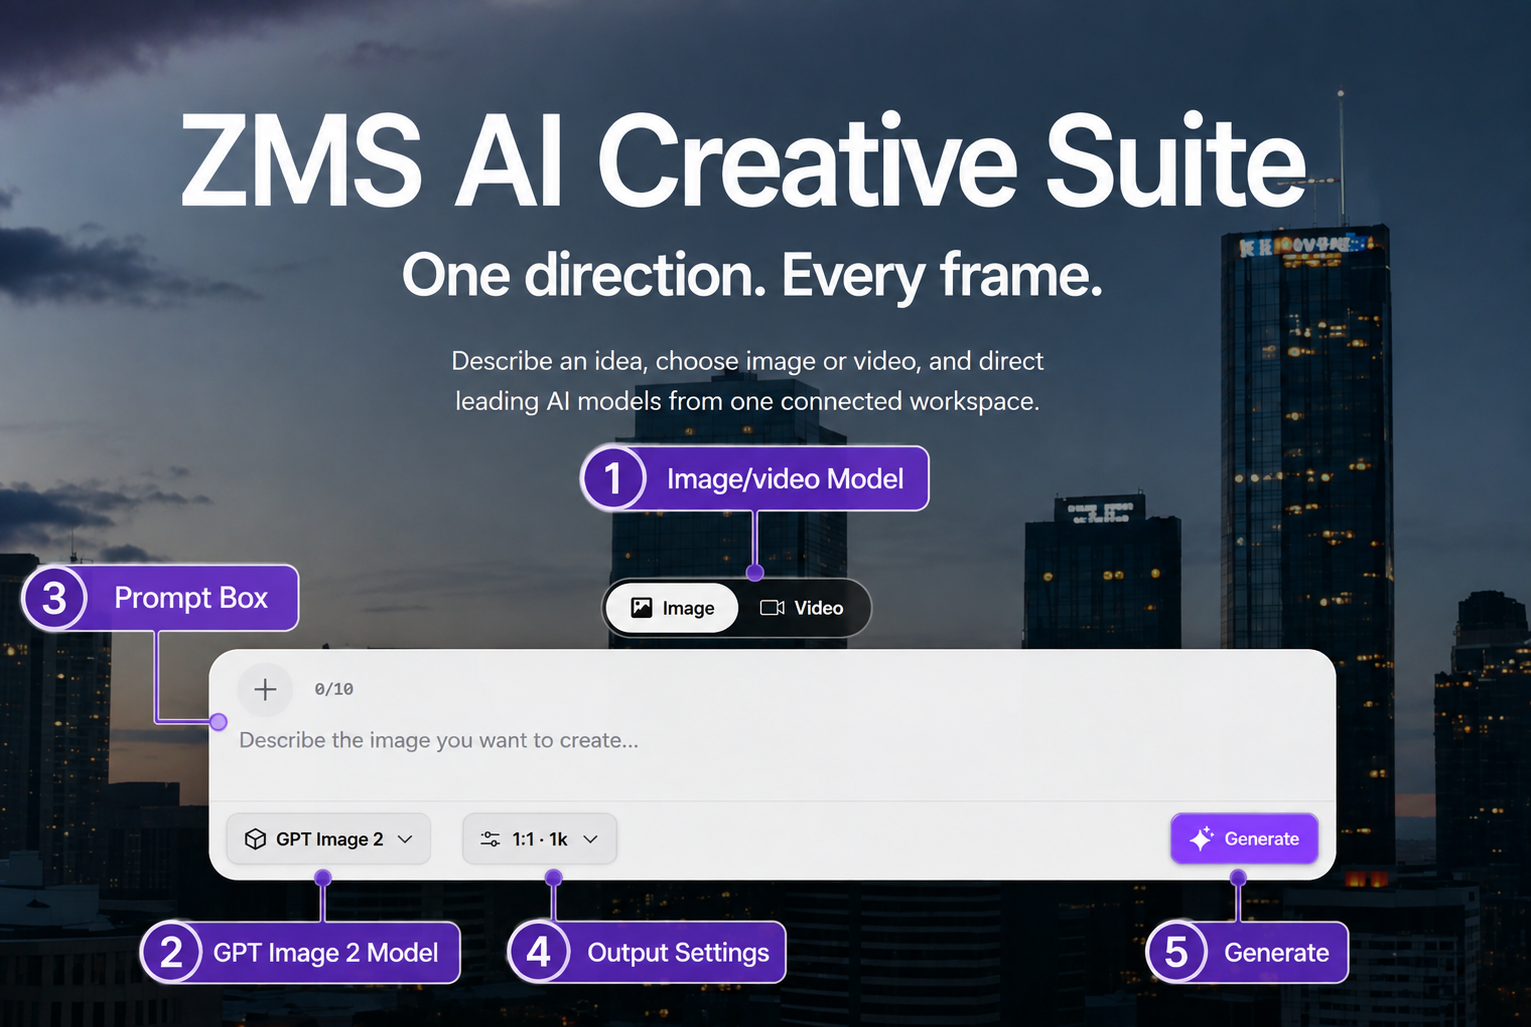
Step 1: Open ZMS AI and Select Image Mode
Open the ZMS AI Creative Suite and choose Image from the creation panel.
Before generating, think about where you plan to use the image.
A website hero, product image, social media post, and vertical advertisement may all require different compositions and aspect ratios.
Tip: Decide your final use first. This makes it easier to choose the right aspect ratio and composition later.
Step 2: Select GPT Image 2
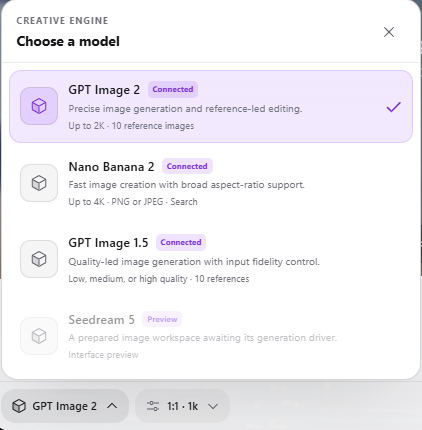
Open the model selector at the bottom of the prompt area and choose:
GPT Image 2
Your basic workflow should now look like:
Image → GPT Image 2 → Prompt → Output Settings → Generate
Once the model is selected, you are ready to write your prompt.
Tip: Check the selected model before generating if you frequently switch between different image and video models.
Step 3: Write Your Prompt

The main prompt box is where you describe the image you want to create.
You can use natural language. There is no need for complicated prompt syntax.
A useful structure is:
Subject + Environment + Composition + Lighting + Style + Constraints
For example:
A futuristic silver sports car parked on a rain-soaked Tokyo street at night, neon reflections across the pavement, subtle fog, cinematic low-angle composition, dramatic blue and purple lighting, realistic automotive photography, no people.
Compare that with:
A cool futuristic car.
The first version gives GPT Image 2 much more information about the intended result.
Another example:
Basic Prompt
Create a coffee advertisement.
Better Prompt
A premium black ceramic coffee cup on a dark walnut table, visible steam, warm morning sunlight from the right, deep brown café background, shallow depth of field, minimalist commercial photography.
Tip: Replace vague words such as “beautiful” or “professional” with specific descriptions of lighting, composition, environment, and style.
Step 4: Choose an Aspect Ratio
Open Output Settings.
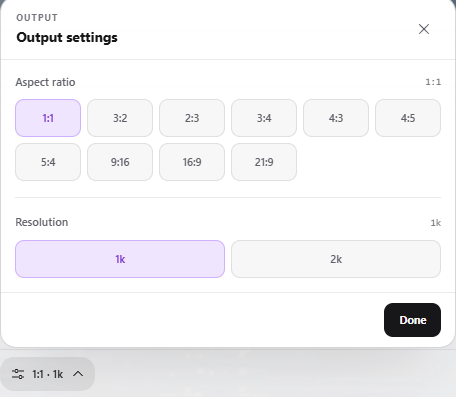
The current ZMS AI interface includes these aspect ratios:
1:1, 3:2, 2:3, 3:4, 4:3, 4:5, 5:4, 9:16, 16:9, and 21:9.
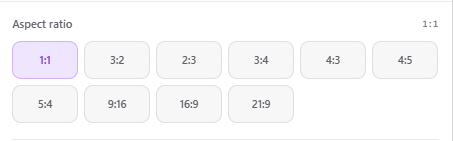
Choose the format based on where your image will appear.
Aspect Ratio | Best For |
|---|---|
1:1 | Square posts and product images |
3:2 / 4:3 | Photography and general images |
2:3 / 3:4 / 4:5 | Portrait content and posters |
9:16 | Stories, Shorts, Reels |
16:9 | Website heroes, blogs, presentations |
21:9 | Ultra-wide banners |
For website hero images and blog graphics, 16:9 is usually a practical starting point.
Tip: Choose your aspect ratio before finalizing composition instructions. A 16:9 image and a 9:16 image often require different framing.
Step 5: Choose 1K or 2K Resolution
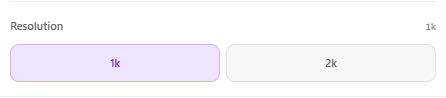
ZMS AI currently provides 1K and 2K options for the GPT Image 2 workflow.
A simple approach is:
Use 1K for testing Choose 1K while experimenting with prompts, compositions, and styles.
Use 2K for final output Consider 2K when you have refined your prompt and want a higher-resolution final image.
A practical workflow is:
1K Draft → Review → Refine → 2K Final
Tip: Higher resolution cannot fix an unclear prompt. Get the composition and creative direction right first.
Step 6: Generate Your Image
Once everything is ready, check your settings:
Mode: Image
Model: GPT Image 2
Prompt: Ready
Aspect Ratio: Selected
Resolution: Selected
Then click Generate.
After the image appears, review it carefully.
Check whether:
The subject is correct
The composition matches your idea
The lighting looks appropriate
The background works
The visual style matches the prompt
Important objects are positioned correctly
If the result is not right, refine your instructions rather than immediately starting over.
Step 7: Refine Your Result
Your first generation does not need to be the final one.
If the result is close, identify the specific problem.
For example:
Original Prompt
Luxury perfume bottle on black marble, dramatic lighting.
Refined Prompt
A single transparent luxury perfume bottle centered on polished black marble, eye-level camera, soft golden rim lighting from behind, subtle reflection beneath the bottle, clean black background, generous negative space, premium fragrance advertising photography.
The refined version adds clearer instructions for composition, camera position, lighting, background, and style.
Tip: Change the part that is wrong instead of rewriting everything.
Best GPT Image 2 Prompt Formula
For most projects, this simple formula works as a starting point:
[Subject] + [Environment] + [Composition] + [Lighting] + [Style] + [Constraints]
For example:
A glass bottle of sparkling water on a wet stone surface, tropical leaves softly blurred in the background, centered composition, sunlight passing through water droplets, realistic commercial beverage photography, natural reflections, no people.
Here the prompt defines:
Subject: Sparkling water bottle
Environment: Wet stone and tropical plants
Composition: Centered
Lighting: Natural sunlight
Style: Commercial photography
Constraint: No people
You can add or remove elements depending on how much control you need.
GPT Image 2 Prompt Examples
Product Photography
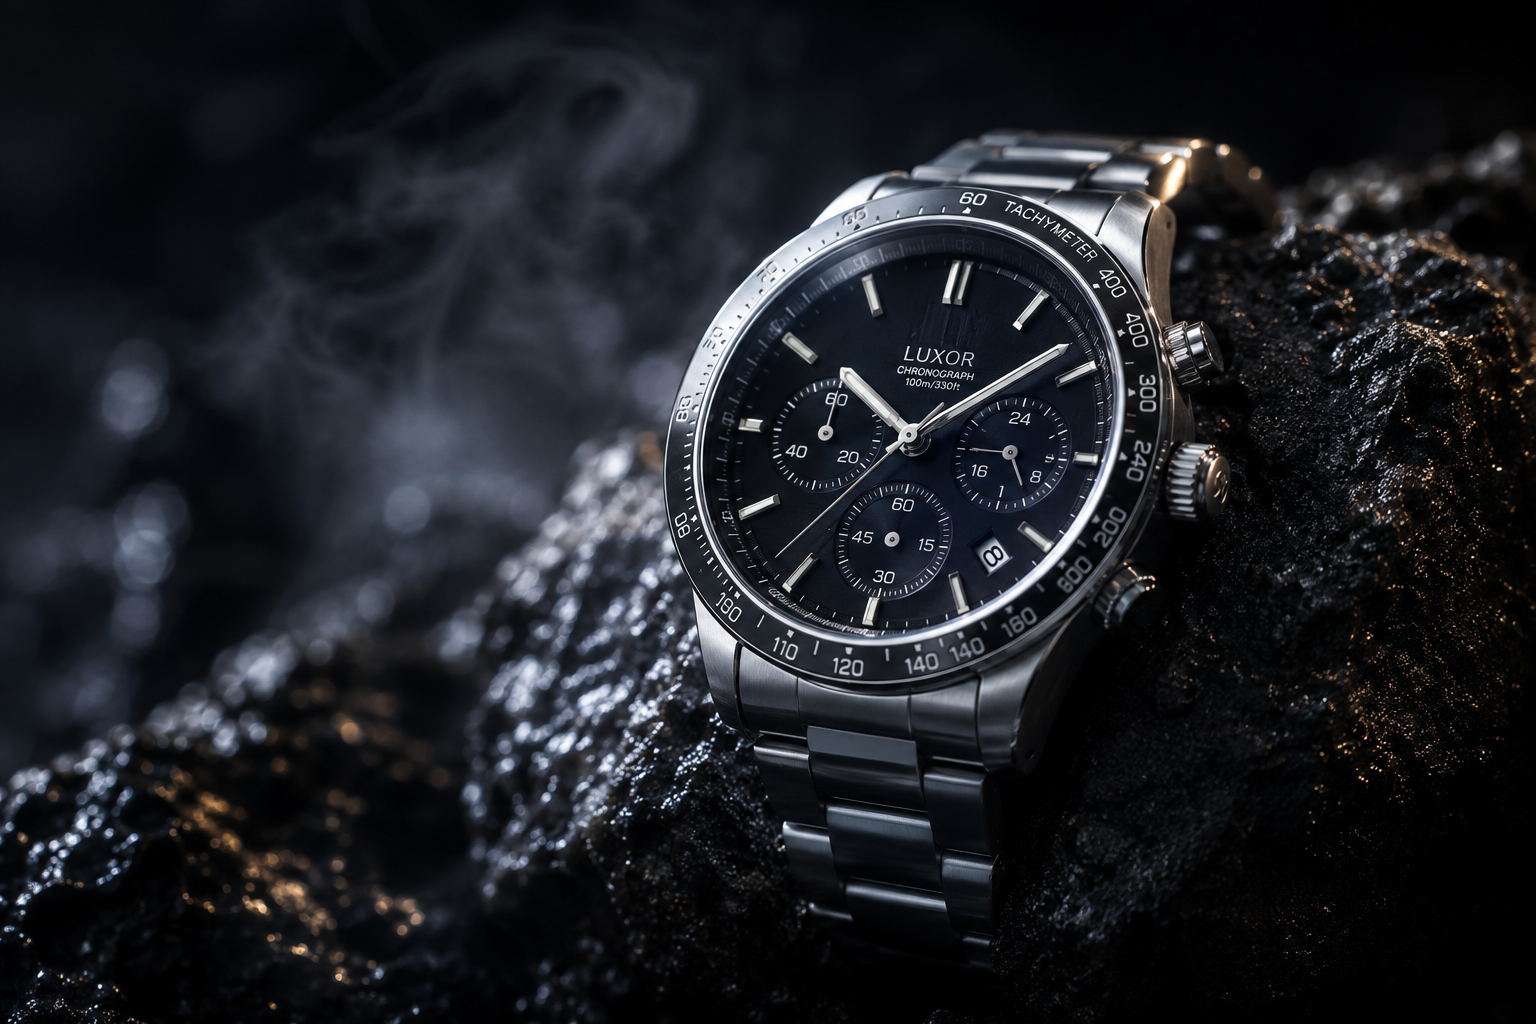
A premium silver wristwatch resting on dark volcanic stone, dramatic side lighting, subtle mist, macro product photography, realistic metal reflections, shallow depth of field, luxury advertising aesthetic.
Website Hero Image
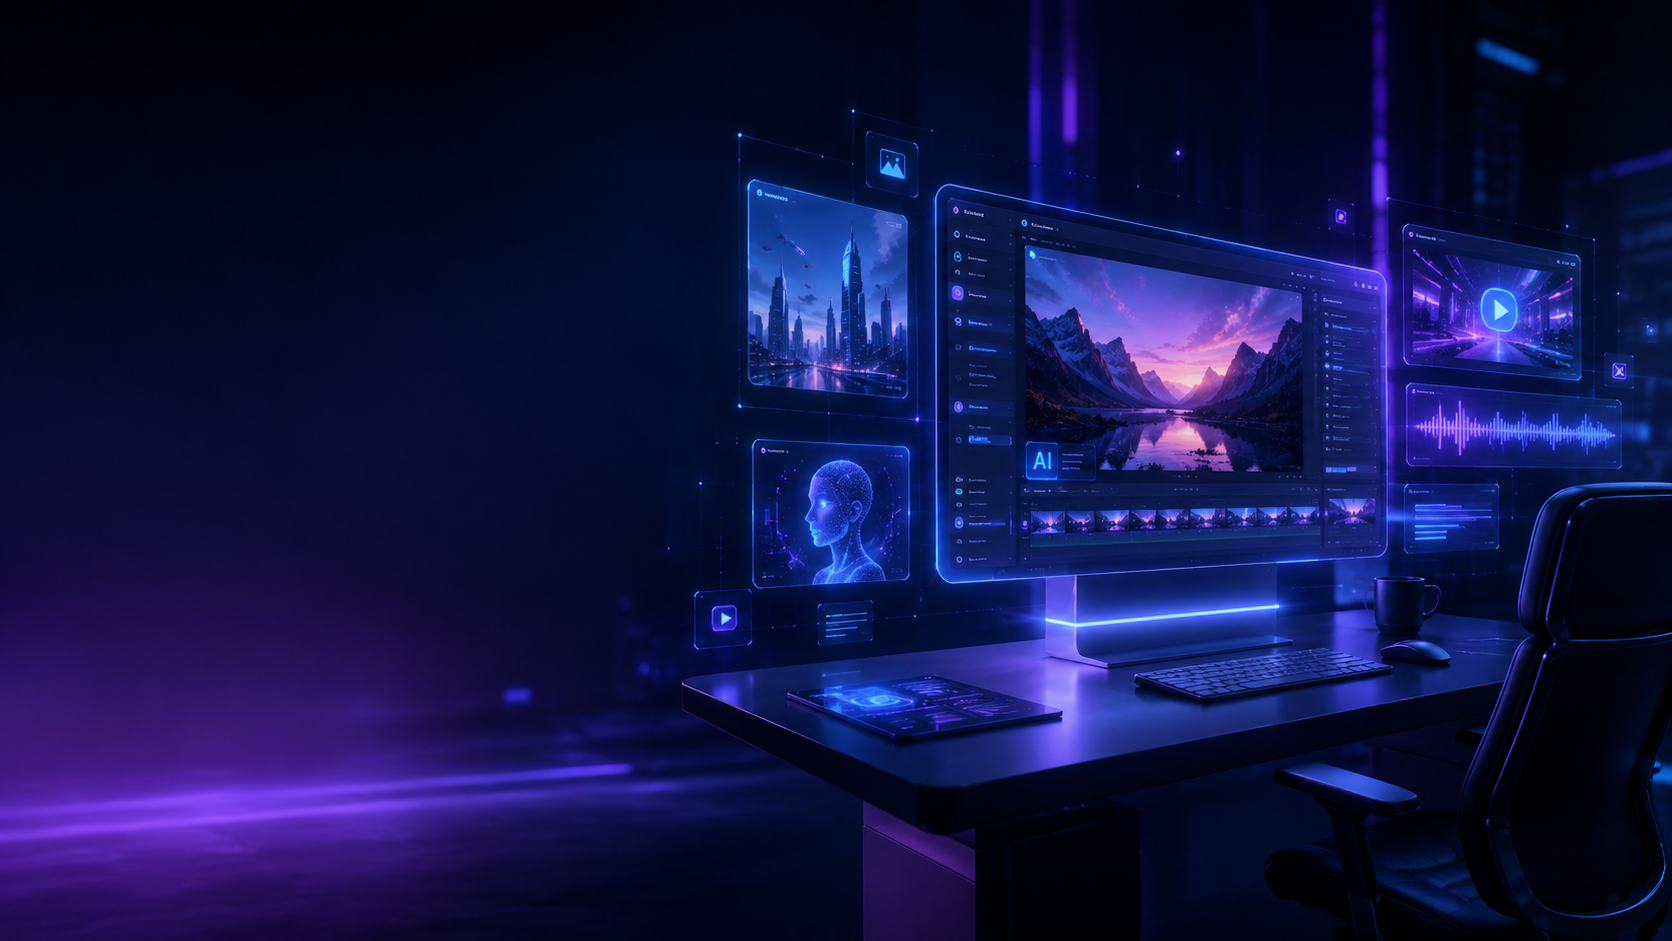
A futuristic AI creative workspace with floating image and video panels, dark cinematic environment, blue and purple holographic lighting, premium SaaS aesthetic, clean negative space for headline text, wide 16:9 composition.
Food Photography
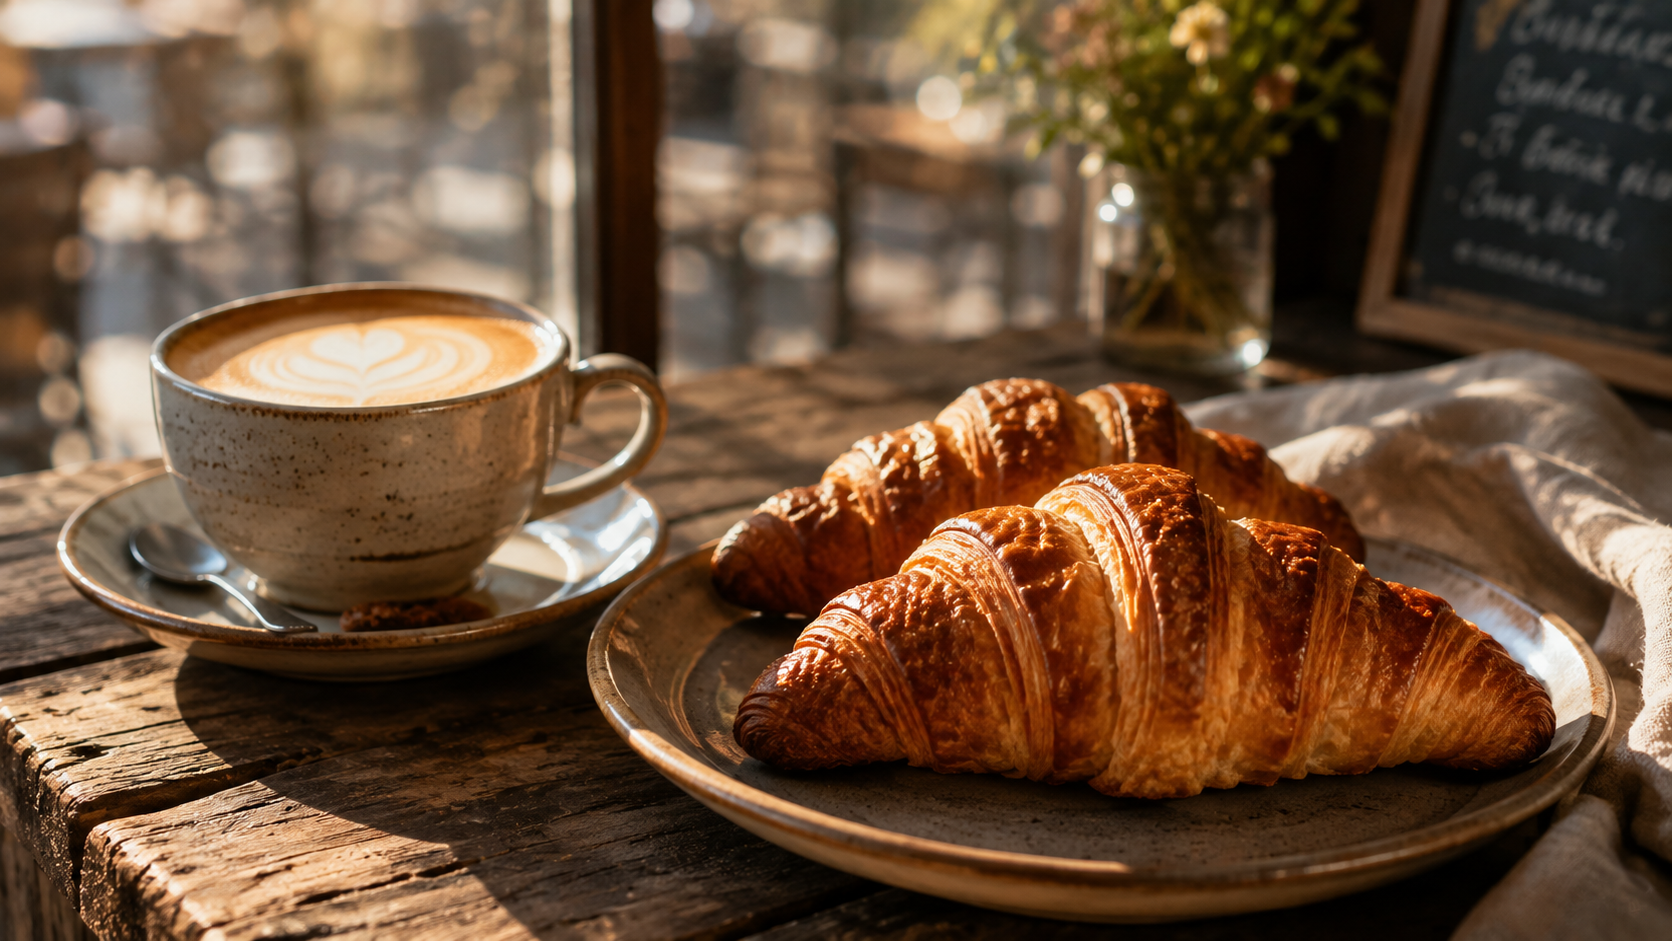
Fresh handmade croissants on a rustic wooden café table beside a ceramic coffee cup, warm morning sunlight, soft shadows, shallow depth of field, editorial food photography.
Social Media Creative
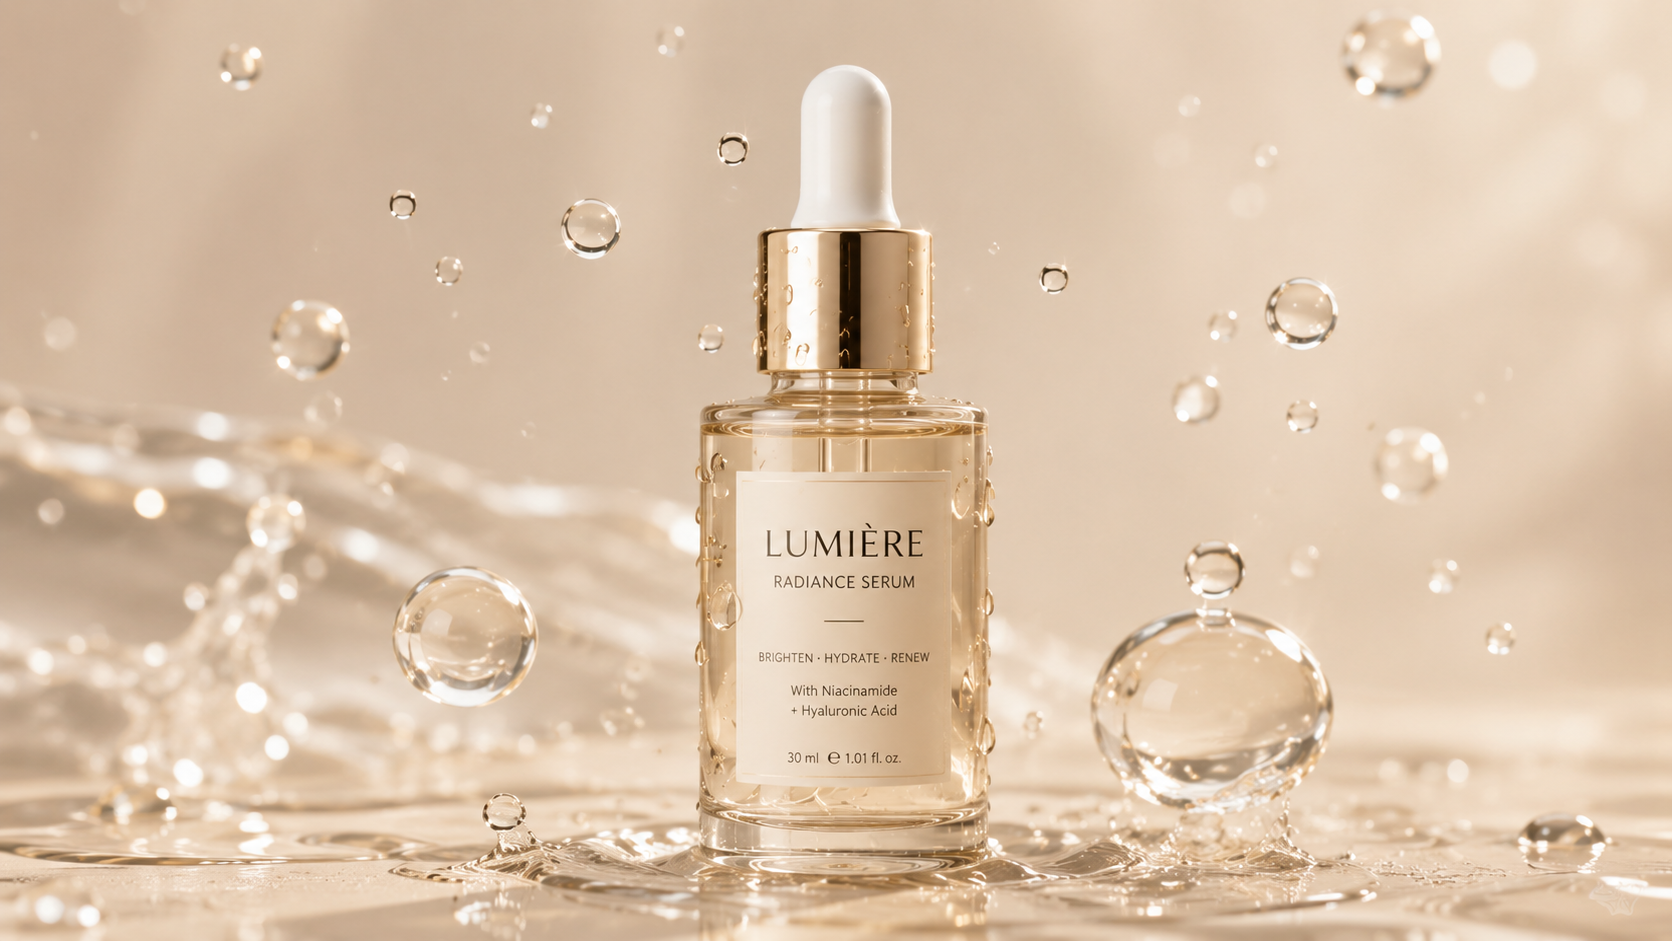
A luxury skincare serum bottle surrounded by translucent water droplets, soft beige studio background, diffused lighting, clean centered composition, premium cosmetic advertising photography.
Tips for Better GPT Image 2 Results
Be Specific About Composition
Useful instructions include:
Centered composition
Close-up shot
Wide-angle view
Low-angle photography
Overhead shot
Subject on the right
Negative space on the left
If you are generating a website hero, for example, you could write:
Main product positioned on the right third of the frame with clean negative space on the left for headline text.
Describe the Lighting
Instead of simply asking for a “professional” image, specify lighting such as:
Soft natural daylight
Golden-hour sunlight
Diffused studio lighting
Dramatic rim lighting
Neon reflections
Cinematic backlighting
Lighting can dramatically change the mood of the final result.
Choose One Clear Style
Avoid combining too many conflicting styles.
Instead of:
Photorealistic watercolor anime vintage cyberpunk 3D image.
Choose one dominant direction:
Cinematic cyberpunk street photography with realistic materials, neon reflections, atmospheric rain, and subtle film-like contrast.
A coherent prompt is easier for the model to interpret.
What Can You Create with GPT Image 2?
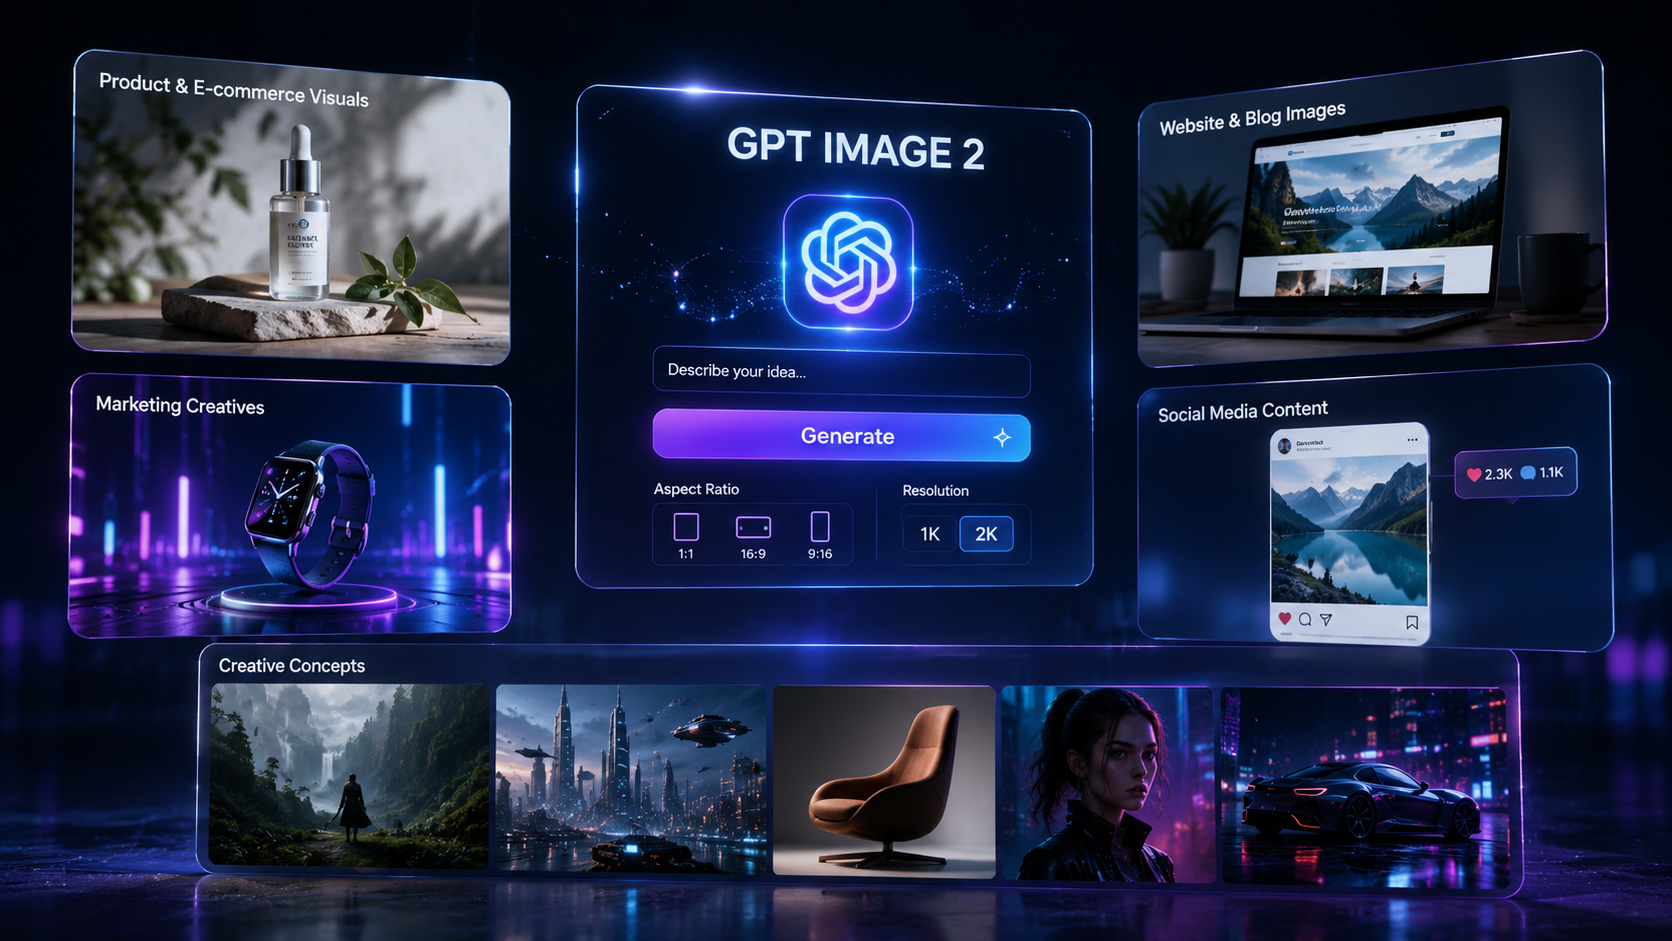
GPT Image 2 can support a wide range of creative workflows.
Product and E-commerce Visuals
Create product concepts with different environments, backgrounds, lighting setups, and advertising styles.
Marketing Creatives
Generate ideas for landing pages, campaign graphics, banners, product launches, and promotional visuals.
Website and Blog Images
Create hero images, blog covers, feature graphics, landing-page illustrations, and section backgrounds.
For website images, consider explicitly requesting negative space for headlines or CTA buttons.
Social Media Content
Use square, portrait, or vertical formats depending on the platform and placement.
Creative Concepts
Explore environments, campaign moods, product scenes, lighting ideas, character concepts, and other visual directions before full production.
Common GPT Image 2 Mistakes
Using prompts that are too vague: Instead of “make a futuristic city,” describe the location, architecture, lighting, atmosphere, camera perspective, and visual style.
Ignoring aspect ratio: Plan your composition around the final format. A 16:9 hero image should be composed differently from a 9:16 mobile visual.
Combining too many styles: Choose one primary visual direction rather than stacking unrelated aesthetic keywords.
Forgetting negative space: If you need to add website text later, tell the model where to leave space.
Trying to fix everything at once: Refine the biggest problem first—composition, then lighting, background, and smaller details.
GPT Image 2 FAQ
How do I use GPT Image 2 on ZMS AI?
Open ZMS AI, select Image mode, choose GPT Image 2, write your prompt, choose the aspect ratio and resolution, then click Generate.
Can GPT Image 2 generate images from text?
Yes. GPT Image 2 can create images from natural-language instructions. More specific descriptions generally give the model clearer creative direction.
Can I use GPT Image 2 on ZMS AI?
Yes. GPT Image 2 is available within the ZMS AI Creative Suite as an image-generation option.
What resolutions are available?
The current ZMS AI GPT Image 2 interface provides 1K and 2K resolution options.
What is the best GPT Image 2 prompt format?
A practical starting formula is:
Subject + Environment + Composition + Lighting + Style + Constraints
What aspect ratio should I use?
It depends on the final use. 16:9 works well for many website and blog graphics, 1:1 for square content, 4:5 for portrait posts, and 9:16 for vertical mobile content.
How can I improve my GPT Image 2 results?
Be specific about composition, lighting, environment, and visual style. If the first result is close, refine the incorrect element instead of rewriting the entire prompt.
Final Thoughts
Learning how to use GPT Image 2 is mainly about communicating your visual idea clearly.
On ZMS AI, the workflow is straightforward:
Image → GPT Image 2 → Prompt → Aspect Ratio → Resolution → Generate → Refine
Start with a clear subject, describe the environment and composition, specify the lighting and visual style, then choose the output settings that fit your final use.
You can begin with 1K while testing your prompt and move to 2K when you are ready for a more polished final output.
Most importantly, treat the first generation as a starting point. Review what worked, refine what did not, and iterate until the image matches your intended direction.
Ready to create? Try GPT Image 2 on ZMS AI and turn your next idea into an AI-generated image.